
How to Secure Your Chokes During Shooting
Proper installation of your shotgun choke is key to preventing it from coming loose during shooting. Make sure to follow the manufacturer’s instructions carefully when attaching the choke to your shotgun.
1. Clean the Threads Thoroughly (Most Important)
Powder fouling, plastic wad residue, and oil are the main reasons chokes loosen.
Do this:
-
Remove the choke
-
Clean both barrel threads and choke threads with solvent
Advertisement -
Use a nylon or bronze brush if needed
-
Wipe completely dry
👉 No oil left on the threads before installation.
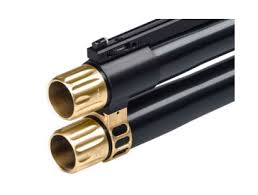
2. Install the Choke Correctly (Hand Tight + Wrench)
-
Screw the choke in finger-tight first
-
Finish tightening with a proper choke wrench
-
Snug, not gorilla-tight
Over-tightening can:
-
Gall threads
-
Make removal difficult
-
Distort thin-wall chokes
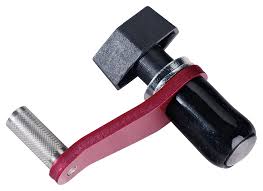
3. Use a Tiny Amount of Anti-Seize (Correctly)
This sounds counterintuitive, but anti-seize prevents loosening caused by heat cycling.
Best practice:
-
Use a very thin film of:
-
Nickel or copper anti-seize
-
-
Apply with a toothpick or cotton swab
-
Wipe off excess — you should barely see it
❌ Do not use gun oil or grease.

4. Check Choke Tightness During Shooting
Especially important for:
-
Sporting clays
-
High-volume practice
-
Light, fast loads
Rule of thumb:
-
Check every 50–100 shots
-
Check anytime you notice a change in sound or recoil
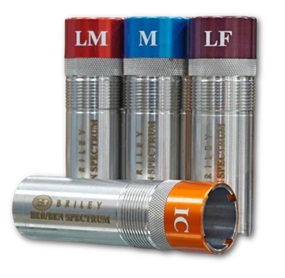
5. Avoid Thread-Locking Compounds
Do NOT use:
-
Loctite (blue or red)
-
Any permanent or semi-permanent thread locker
These:
-
Require heat to remove
-
Can damage barrels
-
Are unsafe for choke tubes
6. Inspect the Choke and Barrel
If chokes keep loosening:
-
Check for worn or damaged threads
-
Inspect choke shoulder for peening
-
Look for carbon buildup preventing full seating
# # #

Comments